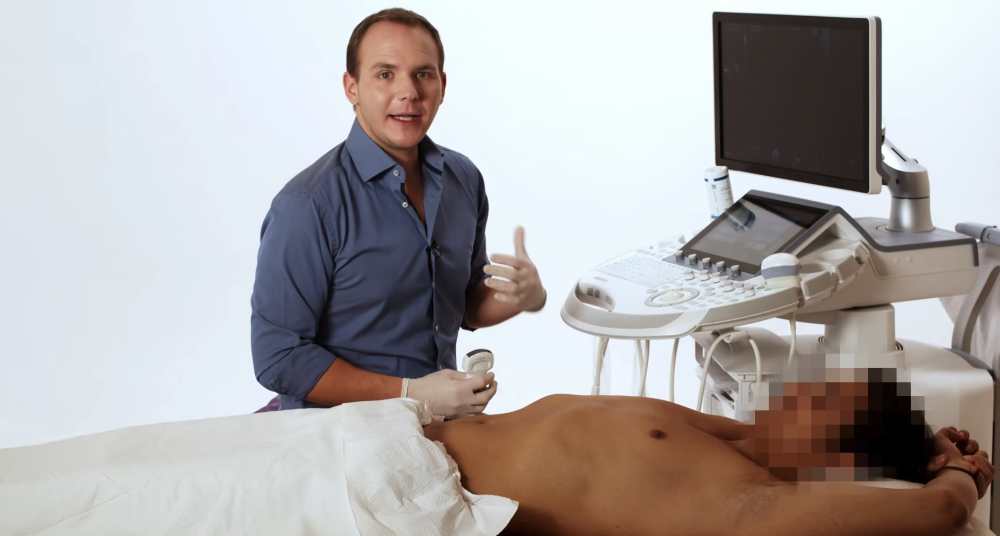
Ultrasound 101 – Part 12: Putting everything together
Welcome to Ultrasound 101. In this 12-part series, we will talk about the basic principles of medical ultrasound, the equipment you will use, the settings on your machine, and of course, how to use sonography in your patients. Each part will focus on a specific topic and allow you to experiment with the scanner, adjust the settings on your machine, and get the best out of your ultrasound examination.
This is the last part of our series about the basics of sonography. Over the previous eleven parts, you learned which transducer to use in which situation, how to adjust some basic settings, what you can and can not see on your screen, how to do measurements, take pictures, and use color Doppler. Today, we prepared another short video for you in which we want to scan the urinary bladder together. So let’s put some of the things we learned together here:
Transducer selection
For the urinary bladder, we are going to use a curvilinear transducer. This allows for quite a lot of imaging depth and is ideal for scanning large areas like the abdomen because the sound beam fans out to both sides of the transducer.
Setting depth and gain
Once we placed the transducer on the skin and found the area of interest, we adjust the basic settings on the machine. We increase or decrease the depth so that the area of interest plus one centimeter is visible on the screen. We also turn the gain up or down to have a good contrast and blackness level in our image. Remember, fluids should be black, and you do not want to over-gain your image creating a lot of artifacts.
Transducer movements and -orientation
When you are satisfied with the image settings, we can start imaging. Remember the three basic transducer movements you learned:
- You can tilt both in the long and short axis
- You can slide on the skin
- You can rotate to get transverse or longitudinal views
In case you lose orientation, find the marker on your screen and keep in mind that it points in the same direction as the marker on your probe.
Optimize your image
If you set everything correctly but are still unsatisfied with your image, you might want to use some of the tricks in part 6:
- Use more gel
- Apply more pressure to the probe
- Let your patient work with you through breathing or body position
Don’t forget to get yourself into a comfortable position, too - putting strain on your body decreases imaging quality and leads to health problems over the years of your career.
Mind the artifacts
Always remember to check your findings for plausibility. When you see something unexpected, make sure it is an actual structure and not just the reflection of one. Remember that not all artifacts are bad - acoustic shadowing, for example, can be a valuable clue to calcification of structures like stones in a bladder.
Take pictures, loops, and measurements
Don’t forget to use the freeze button, scroll back and forth to the perfect frame, and save still and moving images. Also, measure everything you want to include in your report, like the volume of the urinary bladder, for example. You can also save pictures, including measurements.
Use color Doppler to identify vessels
If you find an anechoic structure and ask yourself if it is a blood vessel, you can use color Doppler to evaluate if it has flow. You can also use color Doppler to assess flow velocities semi-quantitatively. In the video below, I don’t use color Doppler because I don’t image any vessels in the area.
Document your findings
Once you are done examining your patient, it is time to write down your findings. Again, use the vocabulary discussed in part 11, and make sure to include relevant measurements and images or videos in your file.
Now that all sounds like a lot - to put it into perspective, we prepared a short clip. We show how to adjust the settings and move the transducer in real time to give you an impression of how easy a scan of the urinary bladder is once you know the basics we discussed here. Take a look!
Conclusion
This part concludes the Ultrasound 101 series. I hope you enjoyed our introduction to medical ultrasound, were able to incorporate some of the tips and principles into your clinical practice, and had fun experimenting with your machine. Understanding and mastering the fundamentals make the foundation of a great sonographer, and I wish you all the best in your career!

